

The Ideal Crosshair in CS2: Complete Setup Guide
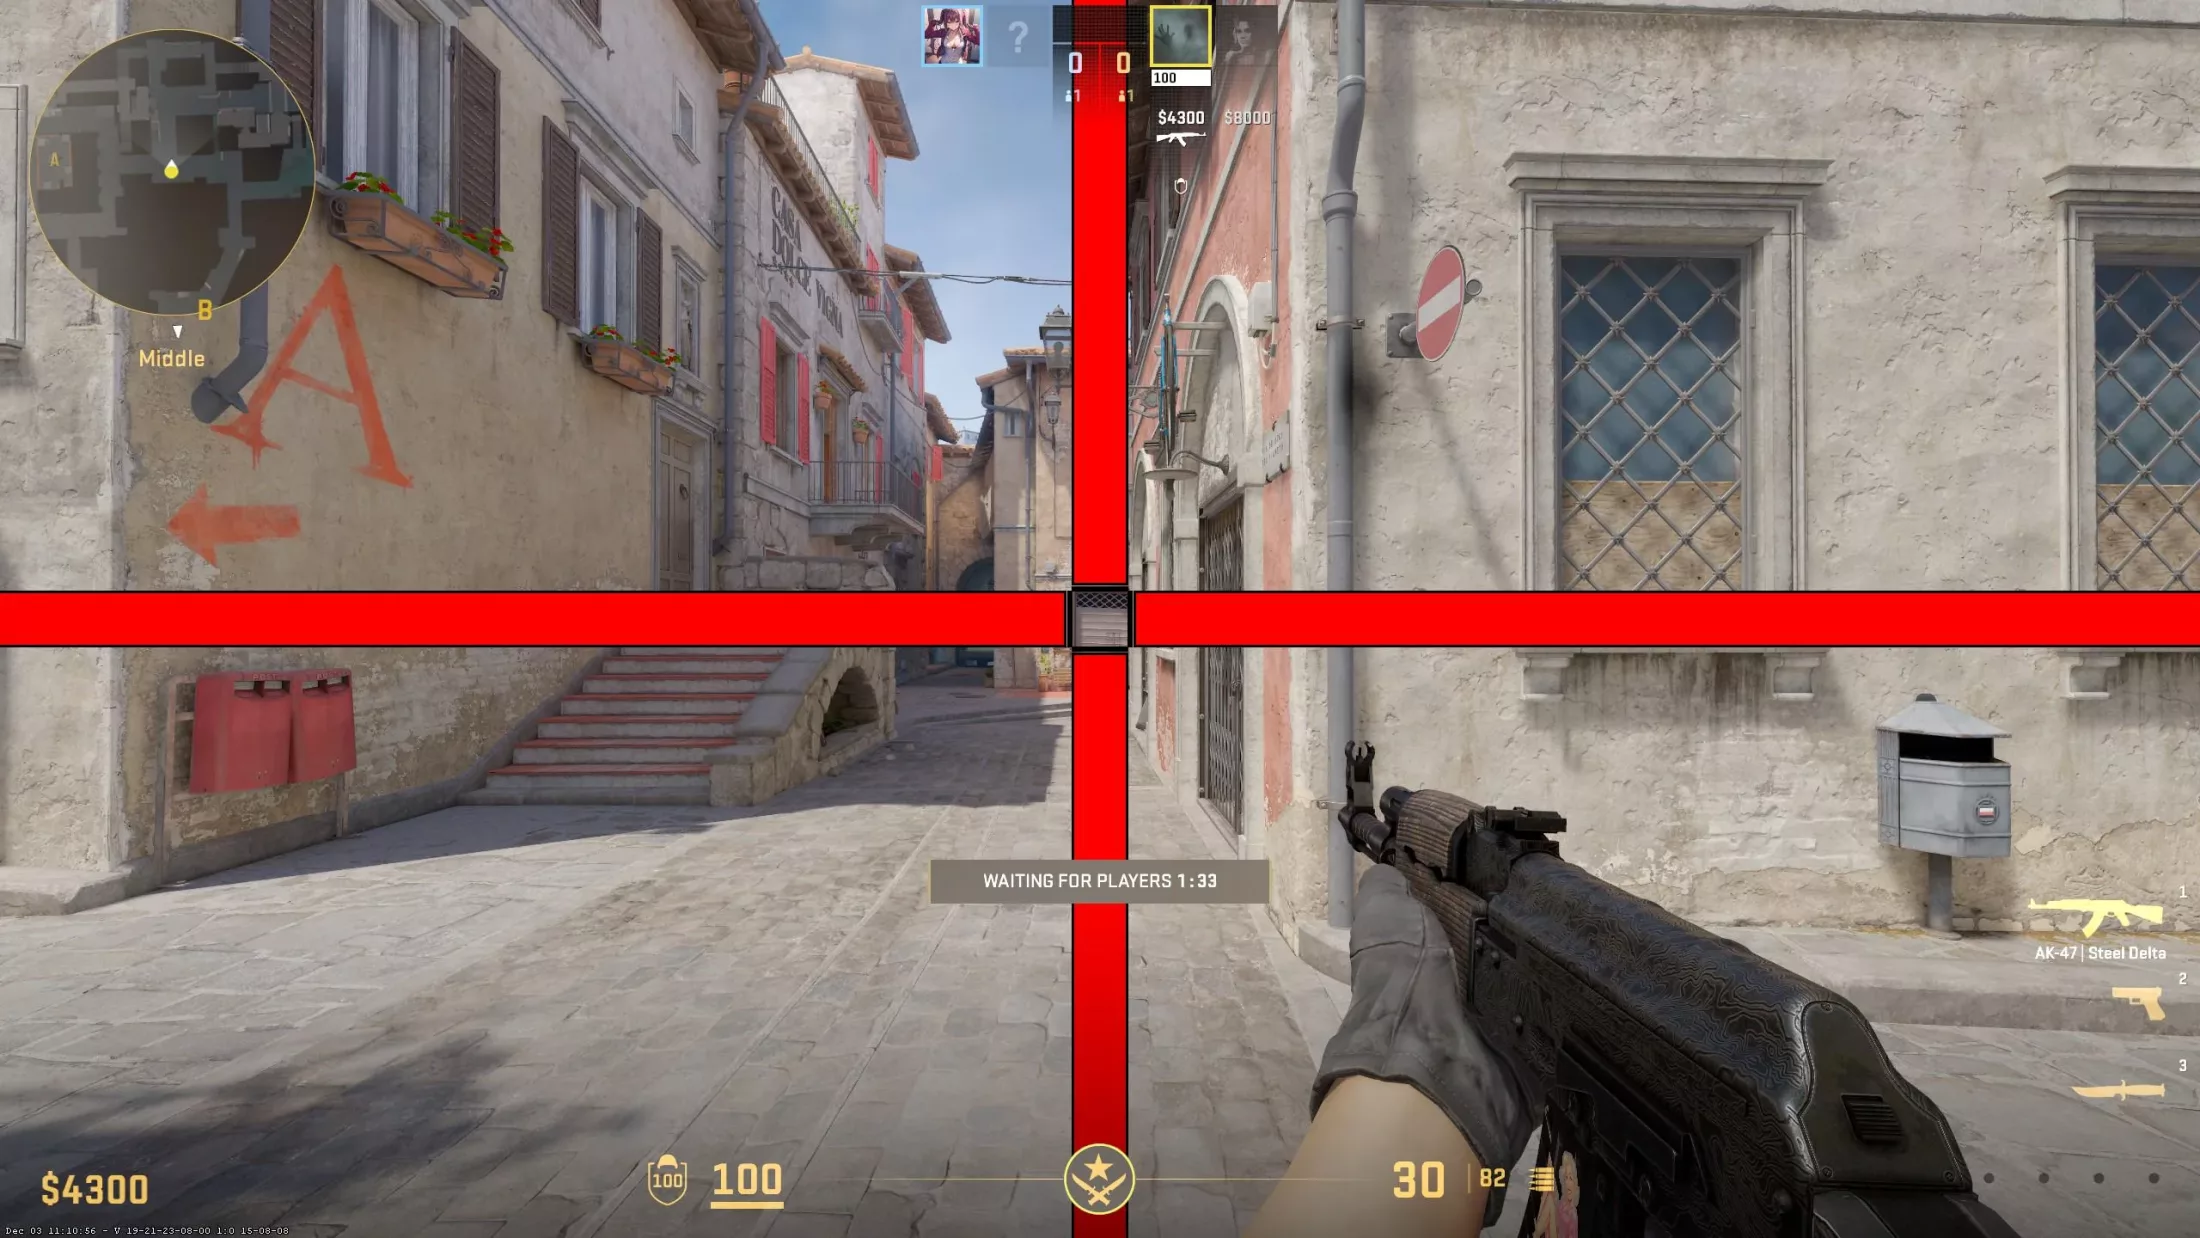
It may seem that choosing a crosshair in Counter-Strike 2 could not be easier. Pick a reasonably attractive cross and jump into battle. In practice, however, things are different. After five minutes of playing with a random crosshair, you realize that it is difficult to aim at opponents, hard to control a full-auto burst (spray), and difficult to transfer between targets. On yellow maps (such as de_mirage), it blends into the background, but once you change it, it disappears from view on de_ancient or de_overpass.
Is the crosshair an important part of gameplay? Absolutely! In this guide, we will cover everything from choosing the right styles and colors to esports players' settings, helping you find your ideal crosshair.
The Basics: What Should a Crosshair Be Like?
There is no universal crosshair that will suit absolutely everyone forever. However, an ideal crosshair should meet several important criteria:
The color should contrast as strongly as possible with the environment on every map.
The length and width should be comfortable both for tapping (firing one bullet at a time) and for spraying.
Step 1. Choose a Style
The game has several crosshair style options. We recommend trying them all to understand which one is personally most comfortable for you:
Classic: The crosshair used by default when you first launch the game. It expands both while walking and while shooting. According to statistics and feedback from most players, this is the least comfortable option because the crosshair's unnecessary movement greatly interferes with aiming.
Classic Static: The undisputed leader and the choice of most players. This is a fixed crosshair that never expands. Nothing visually distracts you from the target, and players automatically keep firing timings in mind without visual prompts.
Legacy: An acquired taste. The crosshair expands sideways only while shooting, depending on the weapon. It is not too distracting, and a fairly significant percentage of players prefer this particular style.
Step 2. Size and Gap
Chosen your style? Let us move on to the precise settings!
Size (Length and Thickness): Recommended starting values are Length — 3 and Thickness — 0.7.
Gap: This is the distance between the crosshair lines. A value of -2 or -3 is optimal. With these settings, you will be able to see the opponent model inside the crosshair most clearly. Other gap values are purely a matter of taste.
Step 3. Color and Transparency: How to Keep the Crosshair Visible
Crosshair color may seem like a minor detail, but in real matches it directly affects your reaction time and accuracy. A poorly visible crosshair can cost you precious milliseconds in a duel.
The best way to improve visibility is to choose the most contrasting color possible. The following options perform very well in the game:
Cyan and Green: Versatile and popular options that are easy to distinguish against most surfaces (RGB: 0, 255, 255 or 0, 255, 0).
Yellow: An excellent choice for dark areas of a map and indoor firefights (RGB: 255, 255, 0).
Pink/Purple (Magenta): Creates strong contrast and is ideal for players who are distracted by visual clutter.
Transparency (Alpha): This setting controls crosshair transparency. The higher the value, the more solid it appears. We strongly recommend always setting Alpha to 255 (maximum opacity).
Tip: Do not waste time on third-party setup resources. Use the built-in CS2 menu, which offers a convenient crosshair preview against different backgrounds.
Step 4. Esports Players' Settings (Learning from the Best)
As we have already established, a static crosshair is the professionals' choice. If you want to test the crosshairs of the world's best players, simply copy the required command block below, open the developer console (the ~ key), paste it, and press Enter:
s1mple:
cl_crosshair_drawoutline 0; cl_crosshairalpha 255; cl_crosshaircolor 4; cl_crosshaircolor_b 144; cl_crosshaircolor_g 238; cl_crosshaircolor_r 0; cl_crosshairdot 0; cl_crosshairgap -3; cl_crosshairsize 2; cl_crosshairstyle 4; cl_crosshairthickness 0; cl_crosshair_sniper_width 1;
ZywOo:
cl_crosshair_drawoutline 0; cl_crosshairalpha 255; cl_crosshaircolor 4; cl_crosshaircolor_b 144; cl_crosshaircolor_g 238; cl_crosshaircolor_r 0; cl_crosshairdot 0; cl_crosshairgap -3; cl_crosshairsize 2; cl_crosshairstyle 4; cl_crosshairthickness 0; cl_crosshair_sniper_width 1;
NiKo:
cl_crosshair_drawoutline 0; cl_crosshairalpha 255; cl_crosshaircolor 5; cl_crosshaircolor_b 145; cl_crosshaircolor_g 255; cl_crosshaircolor_r 0; cl_crosshairdot 0; cl_crosshairgap -4; cl_crosshairsize 1.5; cl_crosshairstyle 4; cl_crosshairthickness 0; cl_crosshair_sniper_width 1;
Step 5. Practice and Training
Finished setting up your crosshair? Practicing immediately in ranked is risky.
Open the menu: Play -> Practice -> Casual.
Choose any map and make sure to enable the following options on the left: Infinite Ammo and Infinite Warmup.
In this mode, you can fire any weapon for as long as you like without bots or real players. This is excellent for testing crosshair visibility against different textures and practicing recoil control. Once you feel confident, move on to bots, practice sprays and flicks, and then confidently head into competitive mode!
Травник
